Uploading Videos
Note
HelixWare is integrated in WordPress, the upload of videos is performed using the well-known Add New Media page of WordPress.
WordPress login
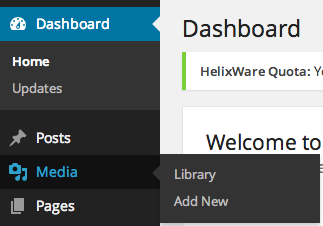
Log into the WordPress admin screen, and click on Media / Add New from the left side menu:
Upload
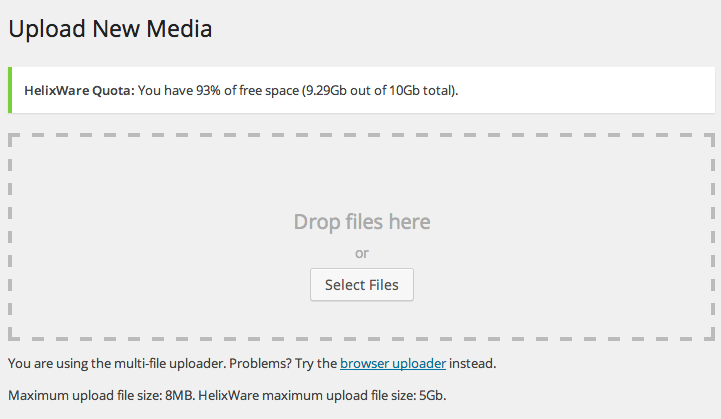
Drag (or select) one or more videos from your computer on the Drop files here box:
Note
The WordPress standard upload limit does not apply to HelixWare uploads. The HelixWare upload limit is specified right after WordPress limit and is usually more than one GB.

Create post
When the upload is complete, you can create a new post by selecting its type, title and tags. Then click on Save:

Note
HelixWare plugin will create a post with the video player shortcode embedded in its content. HelixWare plugin will also create a video thumbnail (by default using the frame at 15”) that will be set as featured image.
Edit post
When the post is saved, an edit link appears. You can click this link to open the edit post screen.

Warning
If you click on the edit link while other uploads are still in progress, you might interrupt them. It is strongly recommended for all the uploads to finish before clicking on the edit link. You can always edit the posts by going to the posts list at a later stage.